
In my short storage experience, managing Windows computers and file shares, especially SMB shares, has been a challenge due to their complex configuration compared to NFS shares. Recently, I explored dual protocol volumes, combining NFS and SMB, which brought its own set of challenges.
This write-up aims to share my one-month learning journey for others’ benefit. The main goal is to guide the mounting of dual protocol volumes (NTFS and UNIX security styles) on Windows and Linux clients, along with user mapping and permissions setup.
Steps
- Create Compute Instances
- Create the Domain Controller
- Join Windows instance to Active Directory (AD)
- Create User for joined instance
- Create the Active Directory Policy
- Create the Volumes
- Set firewall rules
- Mount the volumes to the Linux and Windows clients
-
Test Permissions
-
Unix Security Style
- Mount NFS to the SMB share and try to edit the contents/ add new content; should not work for user
- Give permissions on the mounted share
- Map User Identifier (UID) and Group Identiifier (GID) to windows client
- Remount the NFS drive on windows and try first step again
-
NTFS Security style
- Mount SMB share to NFS client and try to read/write, should not work
- Go to windows and then name map the Security Identifier(SID) to the UID/GID
- Remount the drive and perform first tasks again
-
I am a visual person so I put together an architecture to visually describe my testing

In this configuration, we have three Compute Engine instances and a Google Cloud NetApp Volumes(GCNV)/Netapp Cloud Volumes Service(CVS) dual protocol volume. The AD (Active Directory) server will serve as the domain controller for the Windows Server Client. Both the Windows server Client and the Linux VM will be associated with individual users. Notably, the AD server will also be integrated with the NetApp Volumes/CVS volume.
Now, let’s dive into the exciting part where we put all these elements into action.
Create Compute instances
- Linux VM
- Windows VM
- Windows VMx2 (AD Server)
I firmly believe in leveraging infrastructure as code whenever feasible, and in this case, I’ll be utilizing Terraform for deploying these instances. I’ll be sharing the code on my GitHub page, enabling those interested to follow along and replicate the deployment process.
1 Linux VM deployment
# Required_Providers
provider "google" {
  credentials = file("gcpkey.json") # gcp servive account key
  project     = var.gcp_project
  region      = var.region
}
#DEPLOY_UNIX_INSTANCE
resource "google_compute_instance" "linux_instance" {
  name         = var.unixinstance # vm name in my case 'debian vm'
  machine_type = "n1-standard-2"  # Change to your desired machine type
  zone         = "us-east4-a"  # Change to your desired zone

  boot_disk {
    initialize_params {
      image = "projects/debian-cloud/global/images/debian-11-bullseye-v20230912"
    }
  }

  network_interface {
    network = var.network # vpc name

  }

  tags = ["linux", "dualprotocol"]

}
2 Windows VM deployment
# DEPLOY WINDOWS INSTANCE
resource "google_compute_instance" "windows_instance" {
  name         = "windows-instance"
  machine_type = "n1-standard-2"  # Change to your desired machine type
  zone         = "us-east4-a"  # Change to your desired zone

  boot_disk {
    initialize_params {
      image = "projects/windows-cloud/global/images/windows-server-2019-dc-v20220615"
    }
  }

  network_interface {
    network = "default"

  }

  tags = ["windows", "dualprotocol"]

  lifecycle {
    ignore_changes = all
  }
}
3 Windows VM (AD server deployment)
For this specific deployment, I’ve opted for an image available on the marketplace that utilizes Google’s Deployment Manager for VM provisioning. I find this approach more convenient for my purposes compared to using Terraform.
Active Directory Domain Controller 2022

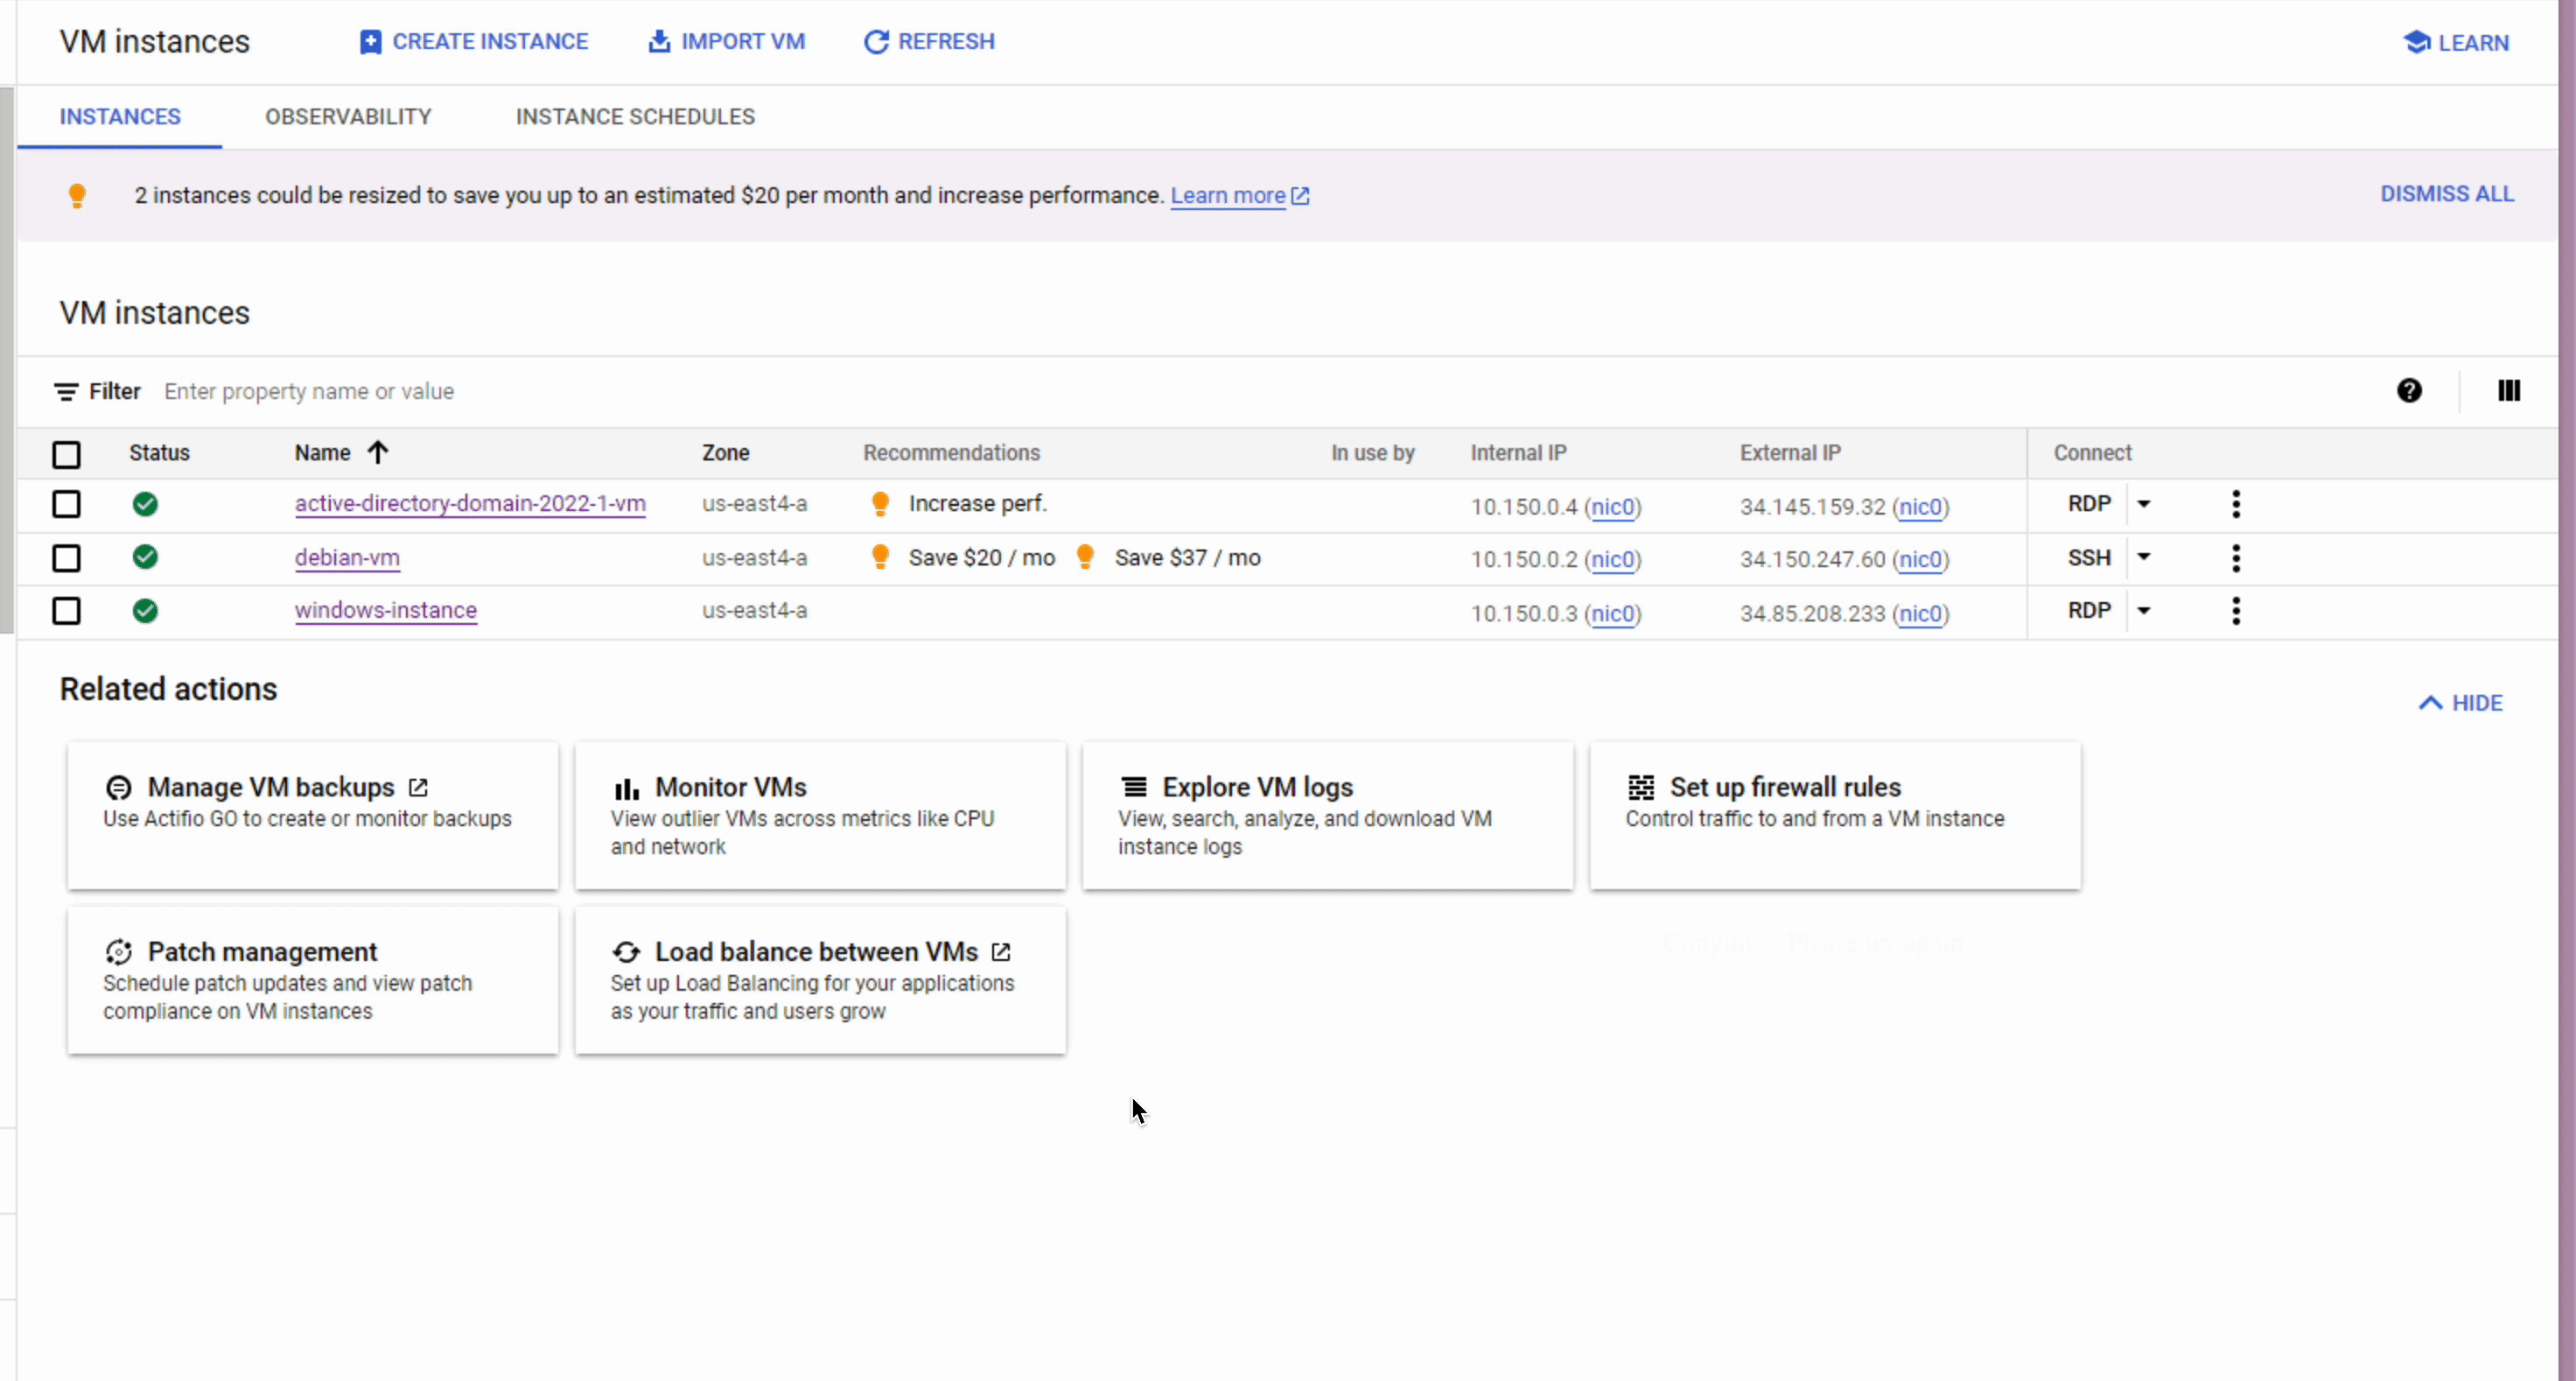
Once this is all done, you should see your google compute engine page look something like this:

Create Domain Controller
In this step, we’ll establish an RDP connection to the Active Directory VM and initiate the Windows Server upgrade to a domain controller. Here’s a breakdown of the necessary actions:
1 Set a password for RDP session
 2 RDP with credentials

3 Promote the server to Domain Controller
a) First you want to reserve a static IP for the windows server, and set the DNS for the DC
b) Then you can go through a wizard that will walk you through the steps of configuring the DC
c) Restart the RDP session once complete and login with admin credentials.
Ive added a short video walkthrough of this process.
Join Windows Server to the Domain
In this phase, we’ll join the standalone “windows-instance” into our AD domain, following these sequential steps:
a Begin by setting a password for the VM and initiating a Remote Desktop (RDP) session.
b Next, configure the Windows VM’s DNS settings to point to the static IP address of the previously established domain controller.
c After configuring DNS, perform a ping test to verify connectivity between the VM and the domain controller.
d Subsequently, change the workgroup to the domain.
e Following this adjustment, the VM will automatically restart.
f To ensure the changes are successfully applied, log into the Windows VM using the domain admin credentials.
Ive added a short video walkthrough of this process.
Create User for joined instance
In this section, we’ll create a distinct user, separate from the root user, to conduct tests on read and write permissions and name mapping across both Windows and Linux clients. Here’s how to proceed:
a Commence an RDP session on the AD server.
b Log in using the AD admin credentials.
c Add a new user to the system.
Ive added a short video walkthrough of this process.
Sign into domain-joined windows server with new user
For the purpose of user separation, let’s proceed with signing into the server using the newly created user. Follow these steps:
a Initiate an RDP session on the Windows instance.
b Log in using the credentials of the recently created user.
Please note that you may need to grant permissions to allow domain users to RDP into the Windows VM to complete this step successfully.
Creating the Active Directory Policy
An Active Directory policy tells NetApp Volumes how to connect to Active Directory. Storage pool configurations use Active Directory policies to define the Active Directory settings of volumes created within them. Active Directory policies are region-specific, with the ability to configure only one policy per region. I will be implementing Infrastructure as Code (IaC) for this deployment, and you can access the code in the GitHub repository linked for reference.
# ADD ACTIVE DIRECTORY POLICY TO NETAPP CVS
# local variables
locals {
  region = "your gcp region"
  connection_type = "hardware or software"
  ad_username = "admin username"
  ad_password = "your_ad_password"
  ad_domain = "your domain"
  ad_dns_server = "dns IP"
  ad_net_bios = "netbios name"

}


resource "netapp-gcp_active_directory" "gcp-active-directory" {
  provider = netapp-gcp
  region = local.region
  domain = local.ad_domain
  dns_server = local.ad_dns_server
  organizational_unit = "your OU's"
  net_bios = local.ad_net_bios
  aes_encryption = true
  username = local.ad_username
  password = local.ad_password
  connection_type = local.connection_type
}


data "netapp-gcp_active_directory" "myad" {
    region = local.region
}
Once complete, your AD Dashboard should look like this (details redacted for security):
NB: The green checkmark does not guarantee connection to the AD, it just verified that there is information in all the fields for the AD policy creation. The AD connection is not verified until volume creation.

Create the Cloud Volumes
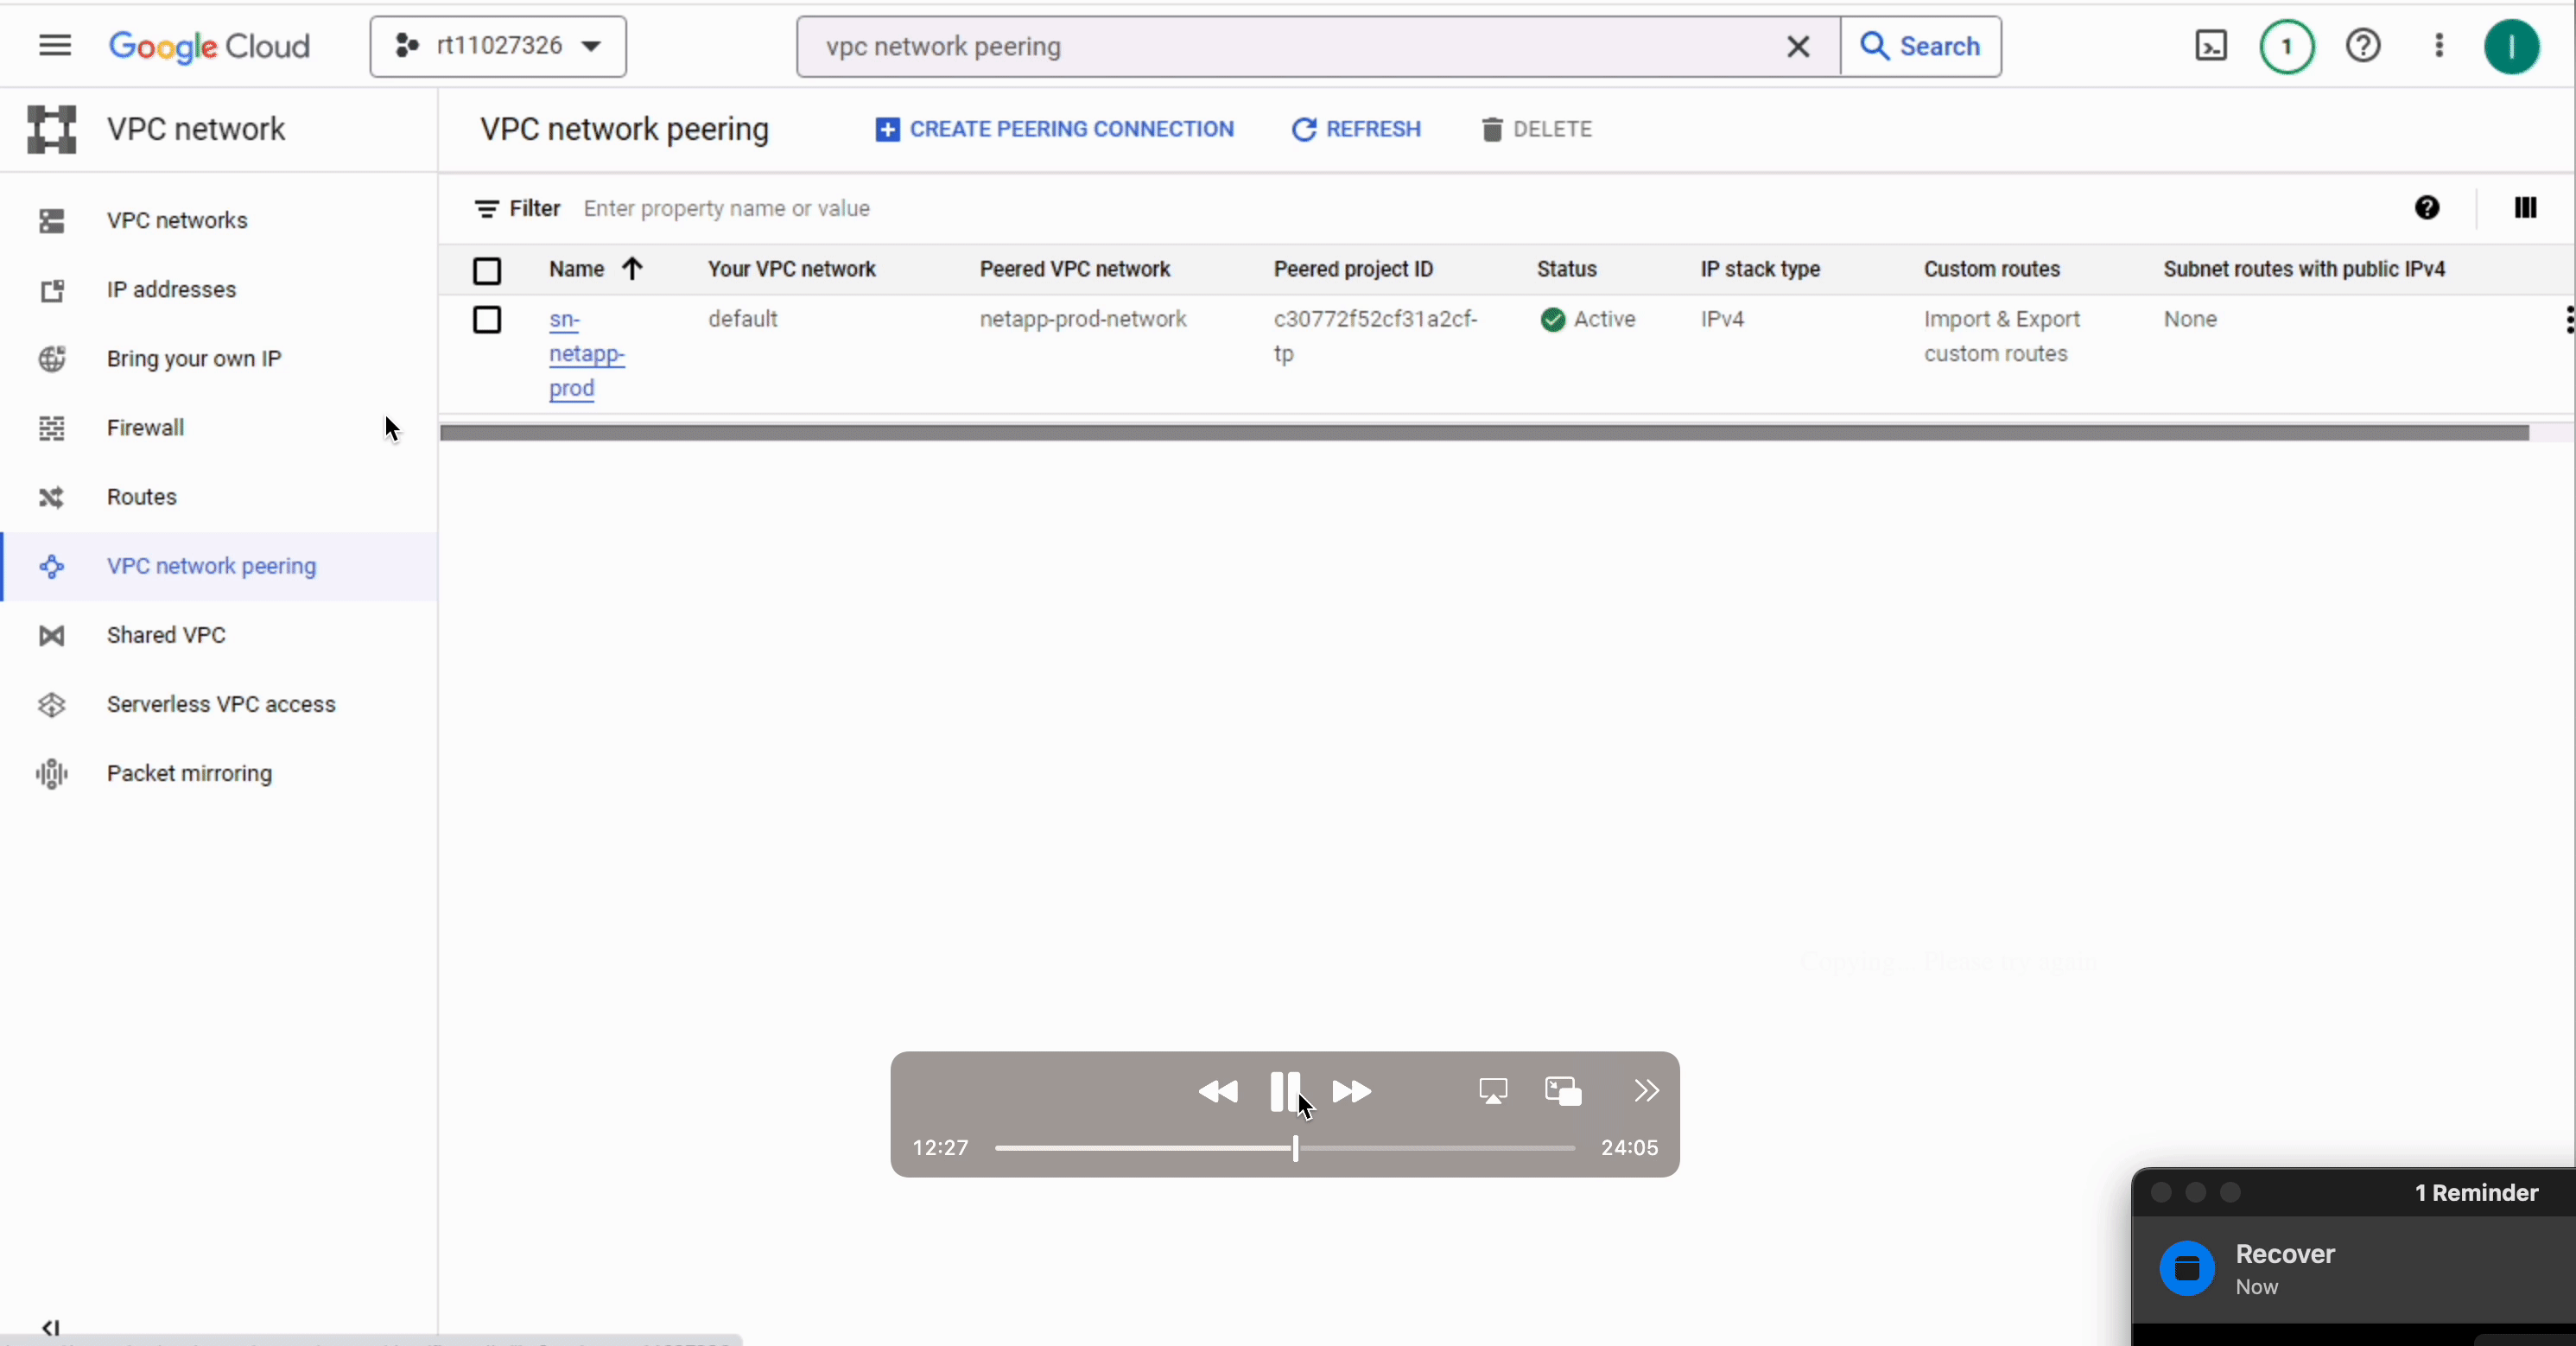
Here we need to create the volumes that are going to be mounted to these clients. Again, I am going to use IaC for this as well. But before creating the volumes, we need to make sure that our VPC is peered into the CVS/GCNV Producer Project VPC as well. NetApp’s Documentation goes through why this peering is needed in much more detail and provides the instructions for the peering.
Firewall Rules
Additionally, to enable our volumes to establish communication with the Active Directory (AD), we need to create a firewall rule that permits connections from the CVS CIDR range. To achieve this, navigate to the peering tab within the VPC, retrieve the IP range, and subsequently configure a firewall rule to allow the required communication ports.
 PS: I have all ports open in the screenshot above; don’t be like me, only open ports that are needed :)
Ports Needed

Once this is done, we can carry on with deploying the volumes. We are going to deploy 2 volumes
1 CVS Dual Protocol Volume with NTFS security style (Permissions are managed from the Windows side)
2 CVS Dual Protocol Volume with UNIX security style (Permissions are managed from the Unix Side)
There are different cases where each security style is useful and the documentation covers this really well
CVS Volume with NTFS Security Style
# CREATE DUAL PROTOCOL VOLUME

resource "netapp-gcp_volume" "gcp-volume" {
  name = var.volume_name_ntfs
  region = local.region
  protocol_types = var.protocol
  network = var.network
  size = var.size
  service_level = var.service_level
  storage_class = var.storage_class
  security_style = "ntfs"


  # Advice: Since SMB volumes can only be created if an Active Directory connection exists for the region, depend the SMB volume on the AD resource. Either create the AD from TF, or use AD data source to query for the existing AD connection

  depends_on = [
    data.netapp-gcp_active_directory.myad
  ]


  snapshot_policy {
    enabled = true
    hourly_schedule {
      snapshots_to_keep = 48
      minute = 1
    }
    daily_schedule {
      snapshots_to_keep = 14
      hour = 23
      minute = 2
    }
    weekly_schedule {
      snapshots_to_keep = 4
      hour = 1
      minute = 3
      day = "Monday"
    }
    monthly_schedule {
      snapshots_to_keep = 6
      hour = 2
      minute = 4
      days_of_month = 6
    }
  }

  export_policy {
    rule {
      allowed_clients = "0.0.0.0/0"
      access= "ReadWrite"
      nfsv3 {
        checked =  true
      }
      nfsv4 {
        checked = false
      }
    }
  }
}
CVS Volume with UNIX Security Style
# CREATE DUAL PROTOCOL VOLUME
resource "netapp-gcp_volume" "gcp-volume2" {
name = var.volume_name_ntfs
region = local.region
protocol_types = var.protocol
network = var.network
size = var.size
service_level = var.service_level
storage_class = var.storage_class
security_style = "unix"
# Advice: Since SMB volumes can only be created if an Active Directory connection exists for the region, depend the SMB volume on the AD resource. Either create the AD from TF, or use AD data source to query for the existing AD connection
depends_on = [
data.netapp-gcp_active_directory.myad
]
snapshot_policy {
enabled = true
hourly_schedule {
snapshots_to_keep = 48
minute = 1
}
daily_schedule {
snapshots_to_keep = 14
hour = 23
minute = 2
}
weekly_schedule {
snapshots_to_keep = 4
hour = 1
minute = 3
day = "Monday"
}
monthly_schedule {
snapshots_to_keep = 6
hour = 2
minute = 4
days_of_month = 6
}
}
export_policy {
rule {
allowed_clients = "0.0.0.0/0"
access= "ReadWrite"
nfsv3 {
checked = true
}
nfsv4 {
checked = false
}
}
}
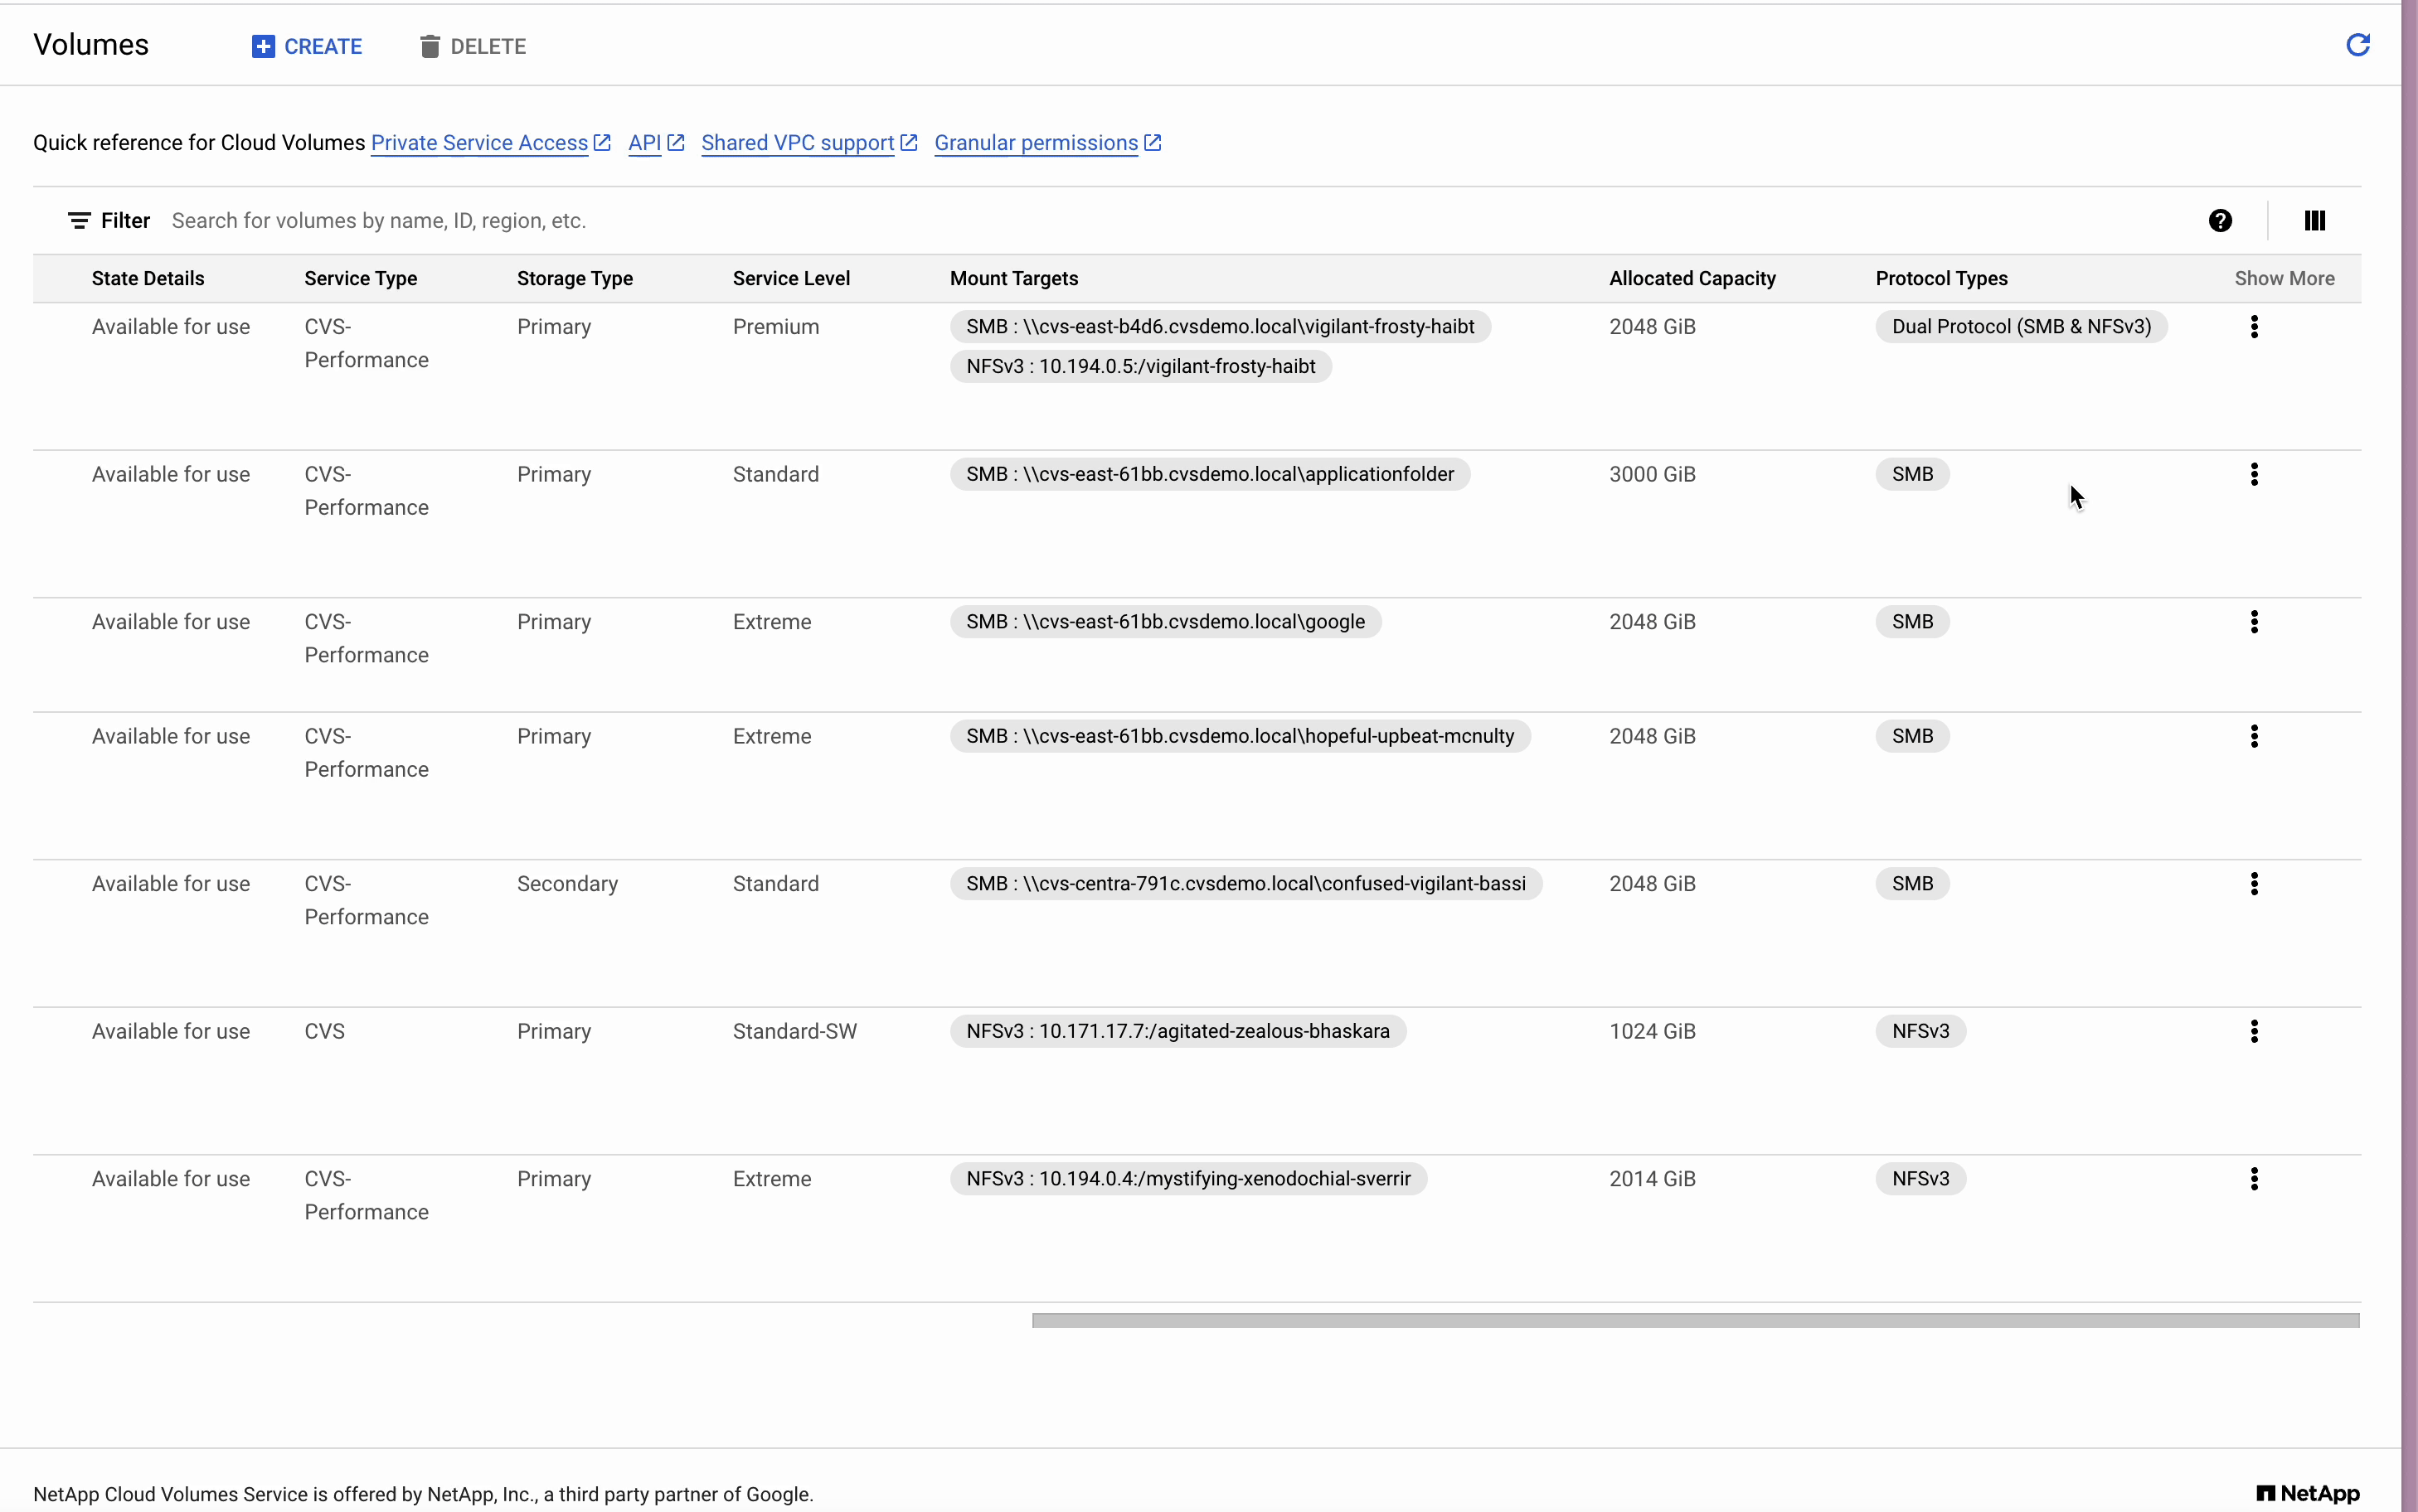
}Once that is done, you should have 2 volumes in your CVS Volumes Dashboard:

Mounting the Volumes
Now that the volumes are set up, we can go ahead and mount the Dual Protocol volumes to the clients we created earlier:
-
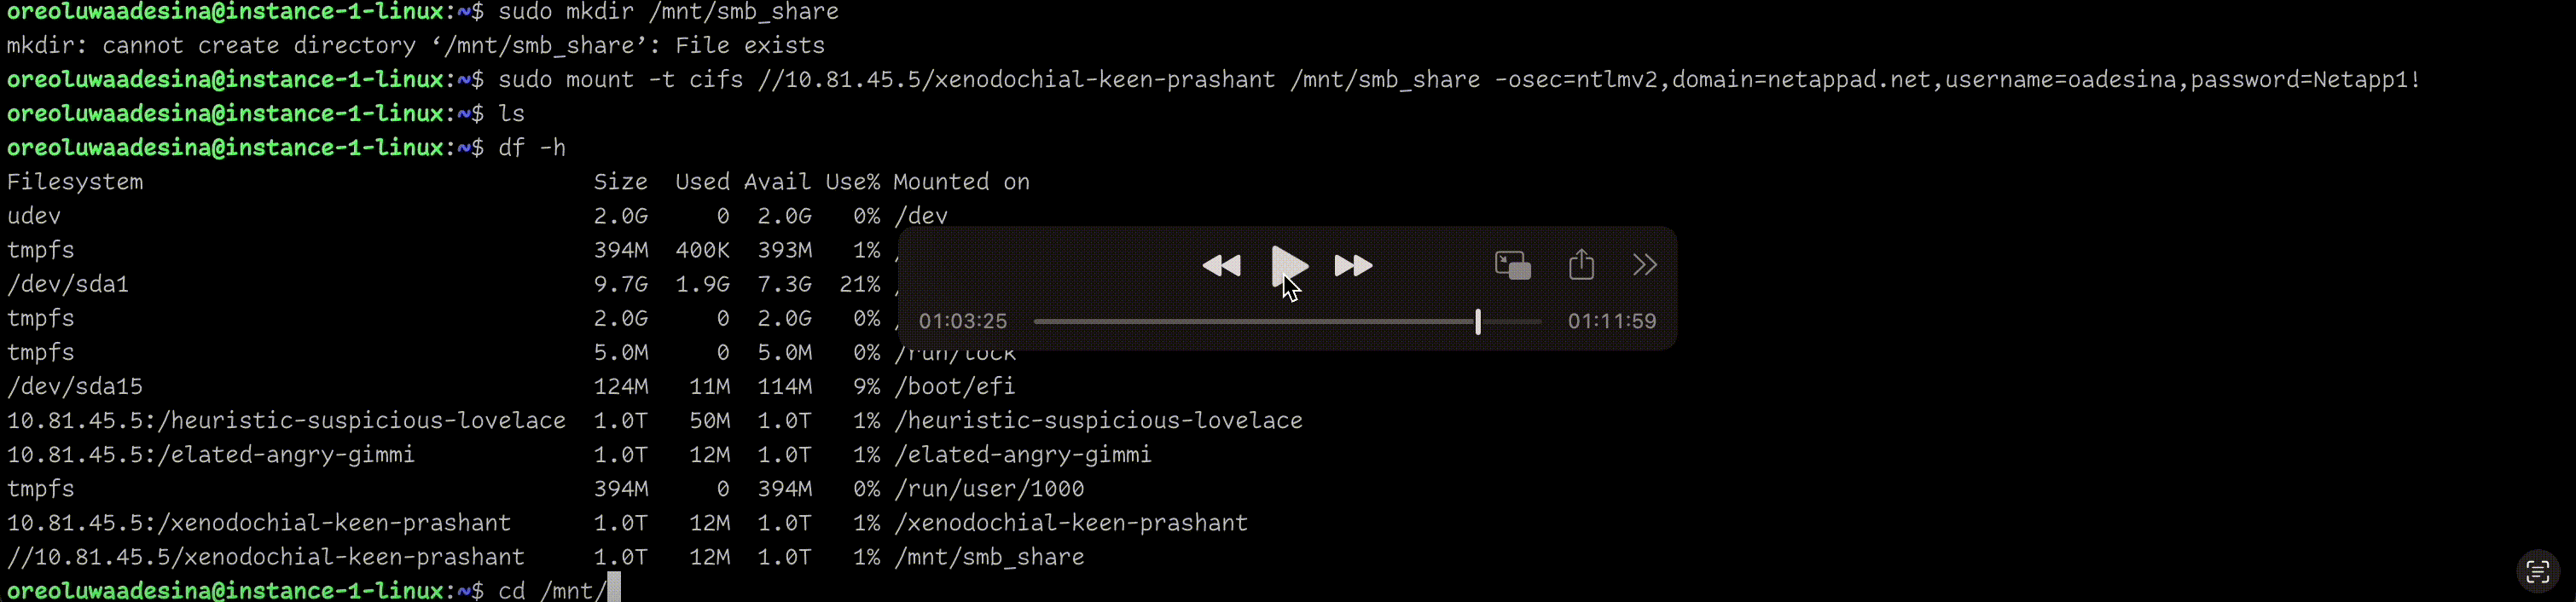
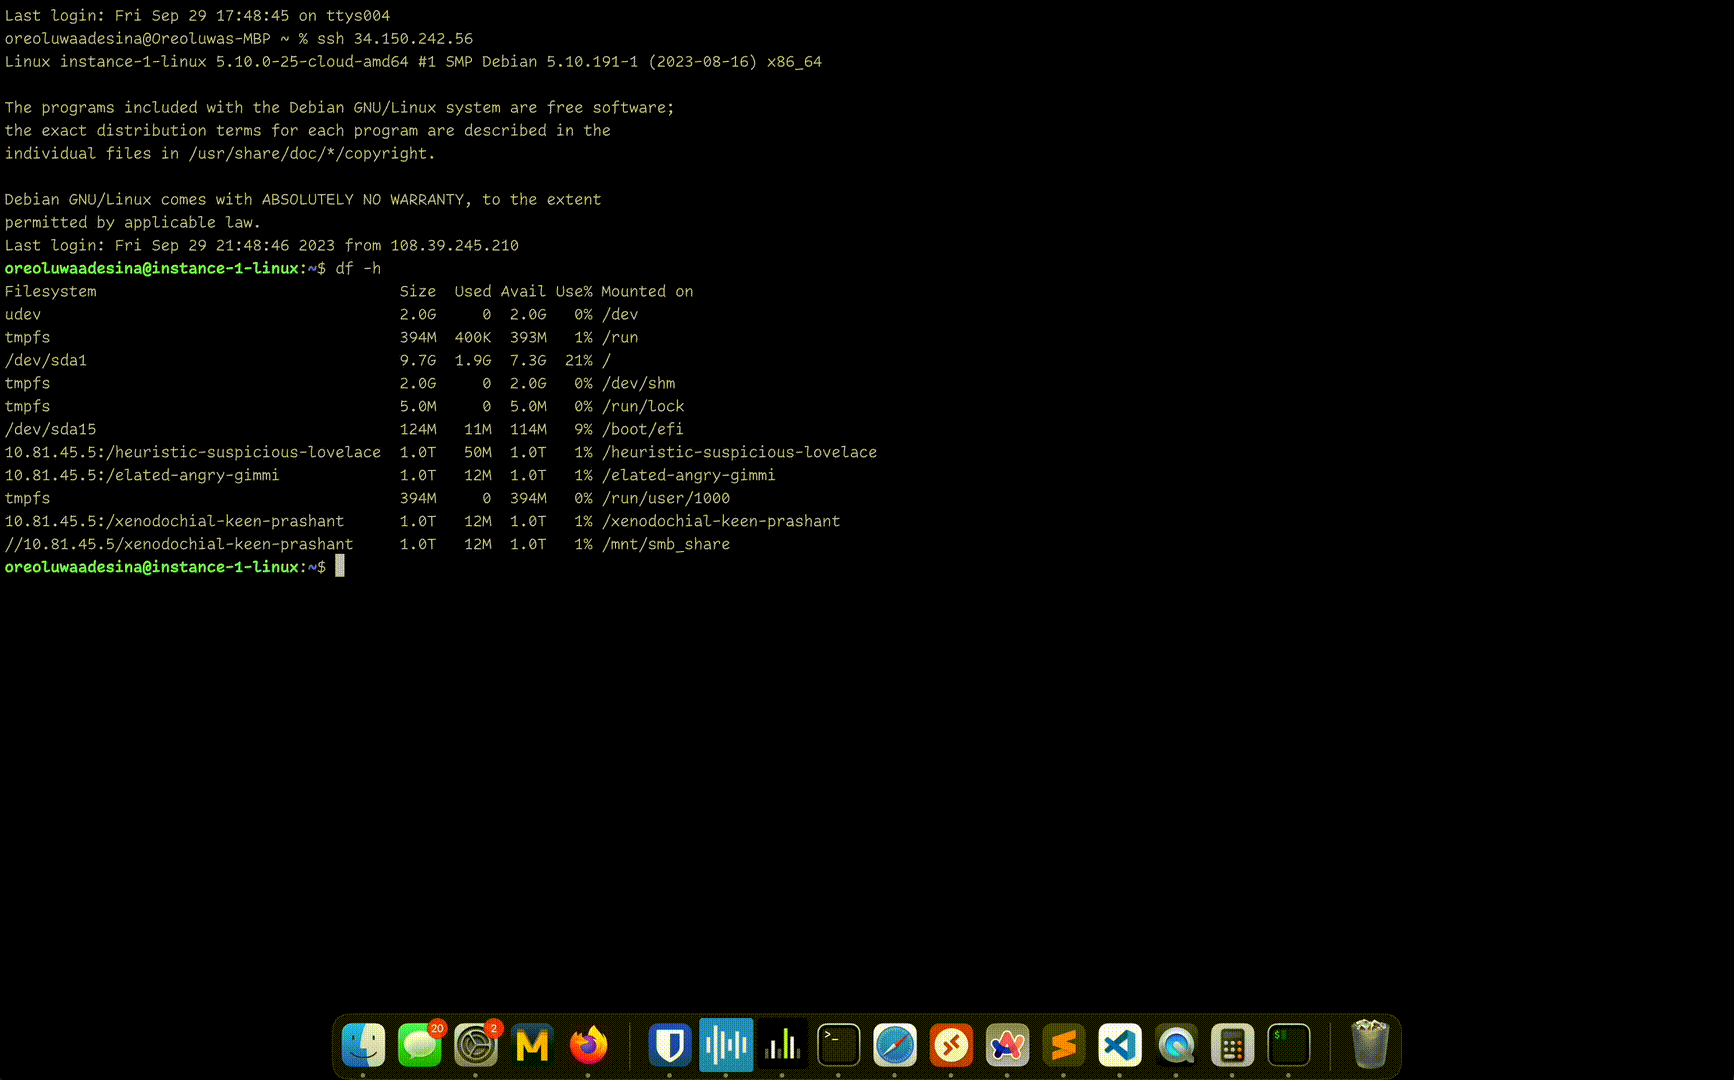
Mounting the Dual Protocol volume to NFS Follow the instructions in the CVS Mount instructions window for your particular linux distro
Im using a Debian distro, so after following the instructions and mounting, I listed the directories to make sure my dual-protocol volumes (both unix and ntfs security styles) have been mounted to the directories I created.

-
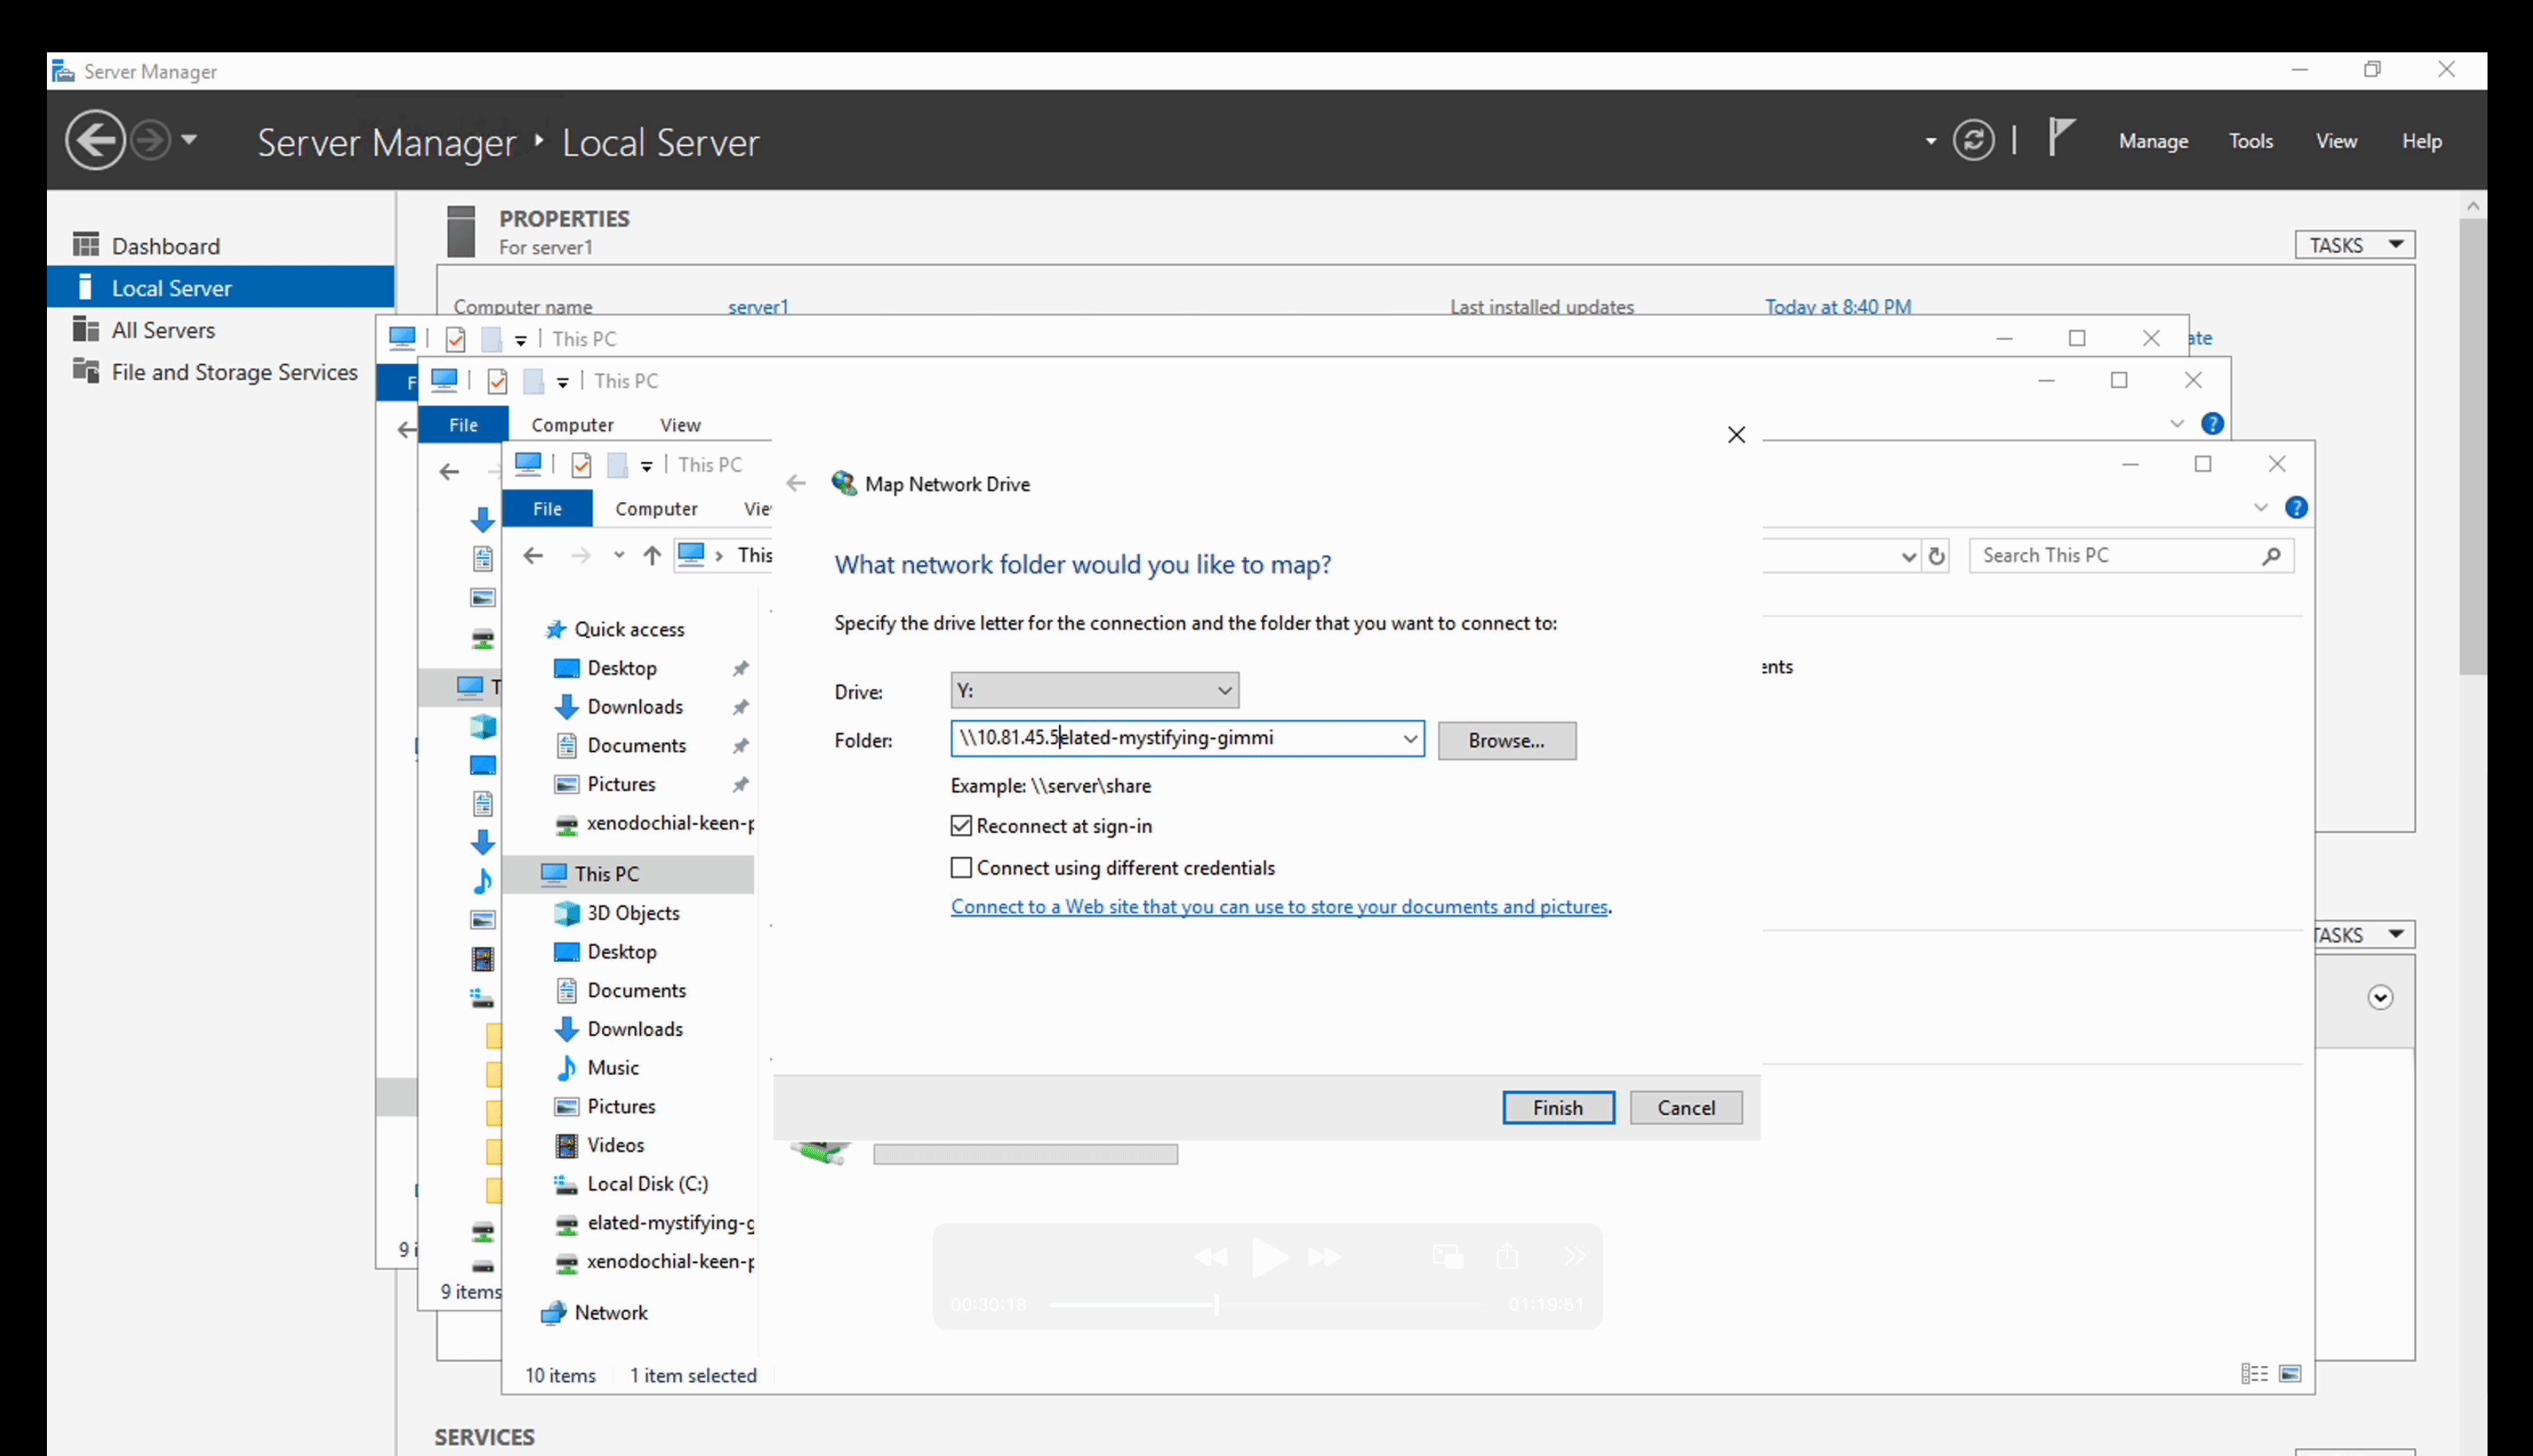
Mounting the Dual Protocol volume to Windows Follow the instructions in the CVS Mount instructions window for your windows client

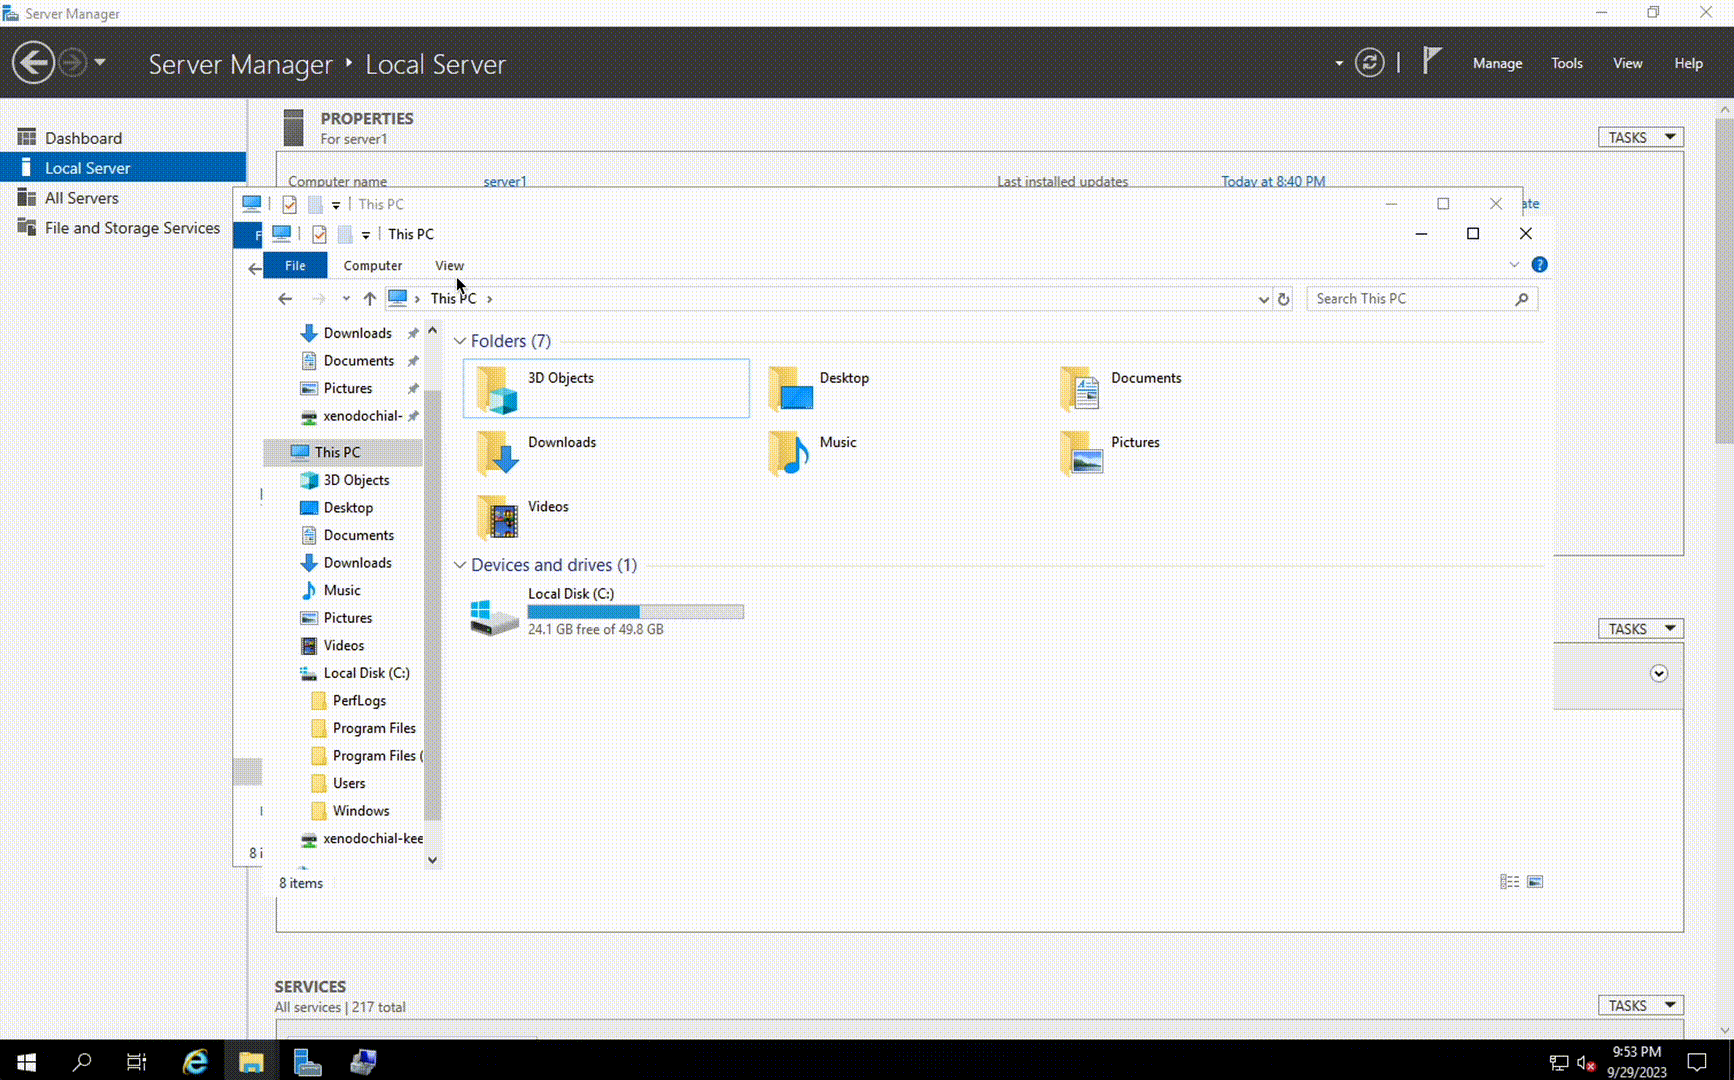
Once done, your windows client should also have both volumes with different security styles mounted on your windows clients


Here, “elated-mystifying-gimmi” is the unix security style volume “xenodochial-keen-prashant” is the ntfs security style volume
Testing Permissions
Testing initial permissions on both volumes with different security styles
Now lets test permissions for the volumes, especially the ntfs security style volume, let me mount this volume from my linux client and try to write a test file on that volume:
 As expected, we encounter a permission denial. This occurs because the CVS volume seeks my Linux user within the Active Directory (AD) but cannot locate it. The NTFS security style volume is unable to resolve the UID and GID of the user since it is looking for a SID instead. This is where the concept of name mapping becomes crucial.
Name Mapping
Depending on the protocol used by the client (NFS or SMB) and the security style of the volume (UNIX or NTFS), NetApp Volumes can directly check access permissions of the user or requires mapping the user to the other platform’s identity first. The table below goes through different scenarios where name mapping is needed
| Access protocol | Security style | Identity used by protocol | Required mapping |
|---|---|---|---|
| NFSv3 | UNIX | User ID and group ID | N/A |
| NFSv3 | NTFS | User ID and group ID | User ID to username to security identifier |
| SMB | UNIX | Security identifier | Security identifier to username to user ID |
| SMB | NTFS | Security Identifier | N/A |
From this table, we see that we will be able to mount and manage NFSv3 volumes with unix security style without mapping and SMB volumes with ntfs security style without name mapping as well. Now consider these 2 scenarios:
1 Scientist Charlie E. (charliee) wants to access a CVS/Google Cloud NetApp volume using SMB from a Windows client. Because the volume contains machine generated results provided by a Linux compute cluster, the volume is configured to store UNIX permissions. or 2 Engineer Amal L. needs to access some data on a volume from a Linux client using NFS. Because the volume is mainly used to store Windows data, it is configured with the NTFS security style. PS: These examples are taken from the excellent documentation available on the NetApp CVS/GCNV documentation page.
PS: When you create a dual-protocol SMB and NFS volume, Netapp strongly recommends that Active Directory contains a default user. The default user is used when an NFS client sends an NFS call with a user ID that isn’t available in Active Directory. NetApp Volumes then tries to look up a user called pcuser, which acts as a default UNIX user. If that user isn’t found, access is denied to the NFS call.
Netapp recommends that you create a default user in Active Directory with the following attributes:
uid=pcuseruidnumber=65534cn=pcusergidNumber=65534objectClass=user
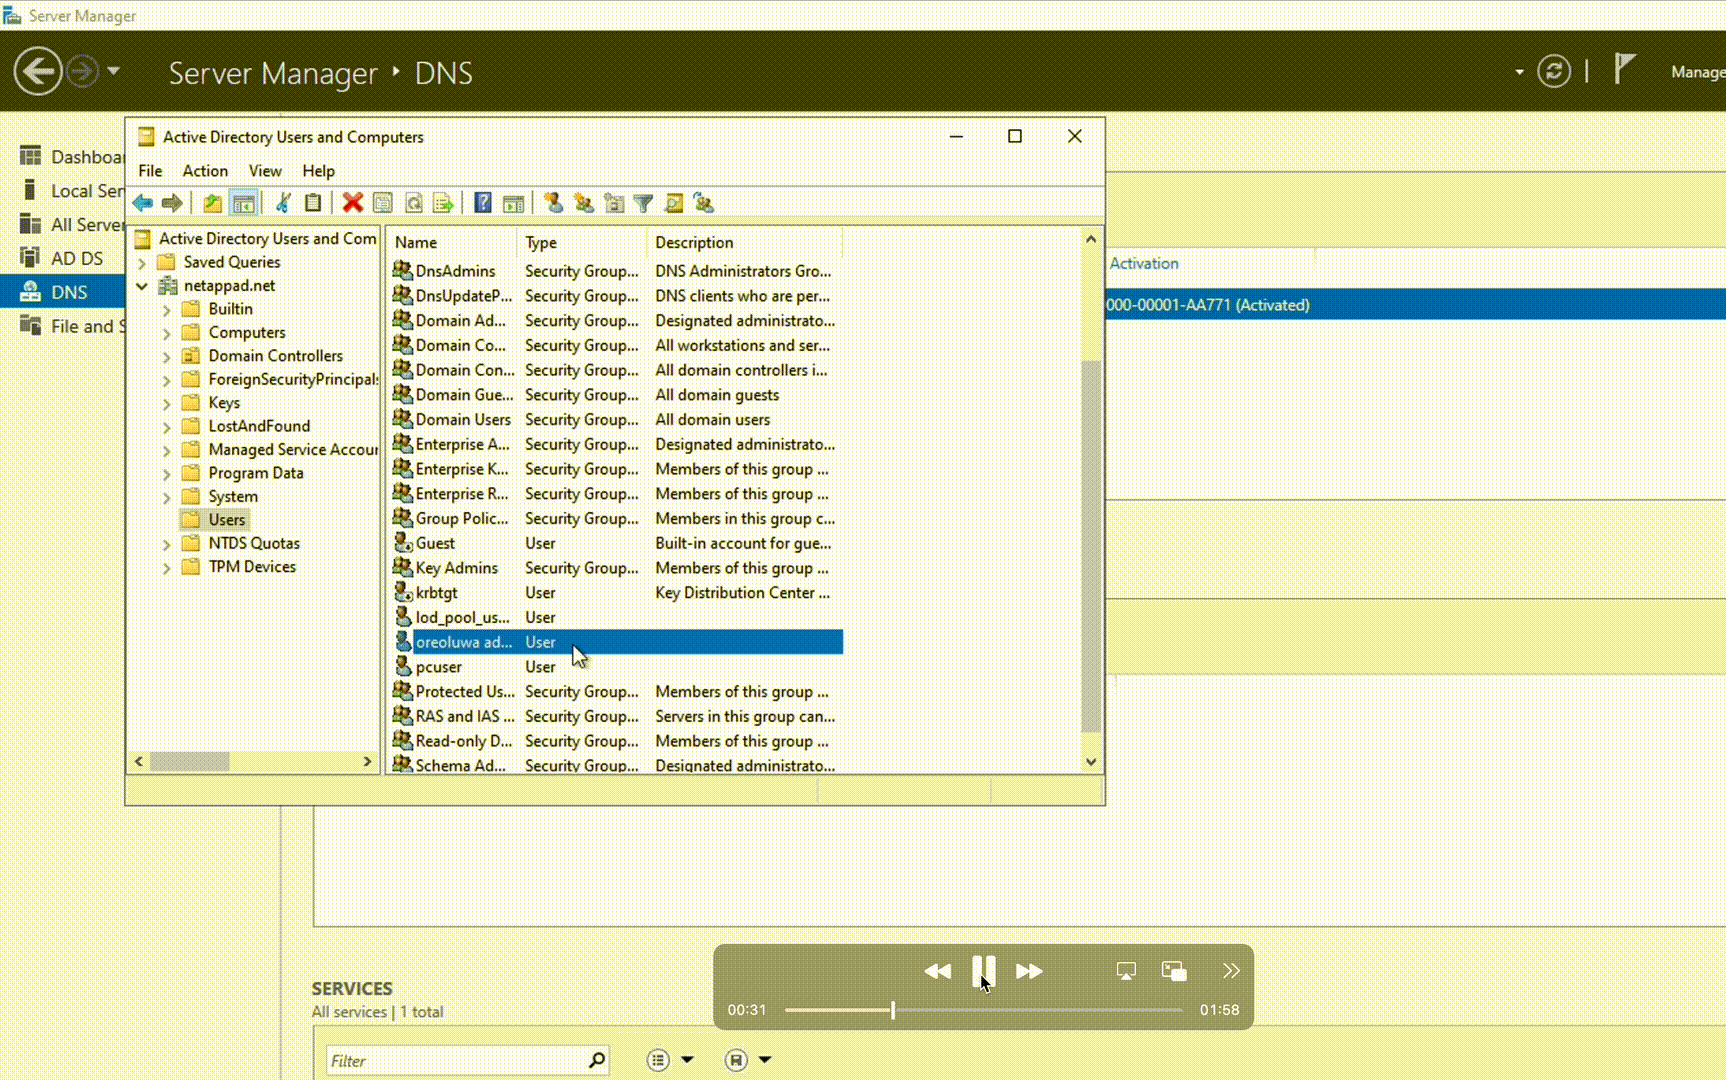
Once the default user is created, I am going to map my linux instance user (oreoluwaadesina) to the AD user I created earlier (oadesina) and the simple way of doing this is:
1 Get your uid and gid from your linux instance
 2 Start an RDP session into the domain controller with the AD administrator credentials
3 Modify the user attributes and add the following
2 Start an RDP session into the domain controller with the AD administrator credentials
3 Modify the user attributes and add the following
uid=username#mine was oadesinauidnumber=linux uid number#mine was 1000cn=computer name#mine was oreoluwa adesinagidNumber=linux gid number#mine was 1001objectClass=user
4 Save the settings.
Mine looked like this after mapping:
Permission Testing Continued…
Now that we have mapped the linux UID to the windows SID, let us assign permissions on the volume for our windows user

Now lets test those permissions on the windows server
 Lets also test this on the linux instance as well just to make sure our name mapping worked
So now we are able to read the files on the volume but are not able to write to the volume in accordance with the permissions specified on the share, pretty nice!
Lets also test permissions on the Unix security style volume after the name mapping. Initially my windows user could not access the NFS share as well, but after mapping my linux user to my windows user, and setting the permissions for my user from my linux instance
 I added read write permissions from my user, and then tested from the windows server with the name mapped user, and the permissions were reflected over there as well.
This write-up only covers NFSv3 name-mapping, I will post an updated version of my learnings once I’m able to learn about NFSv4 as well. Thanks for reading.